The When, Where, Why and How of Cannabis Harvesting, Trimming and Curing
A Guide to the Art of Harvesting, Trimming, and Curing Cannabis
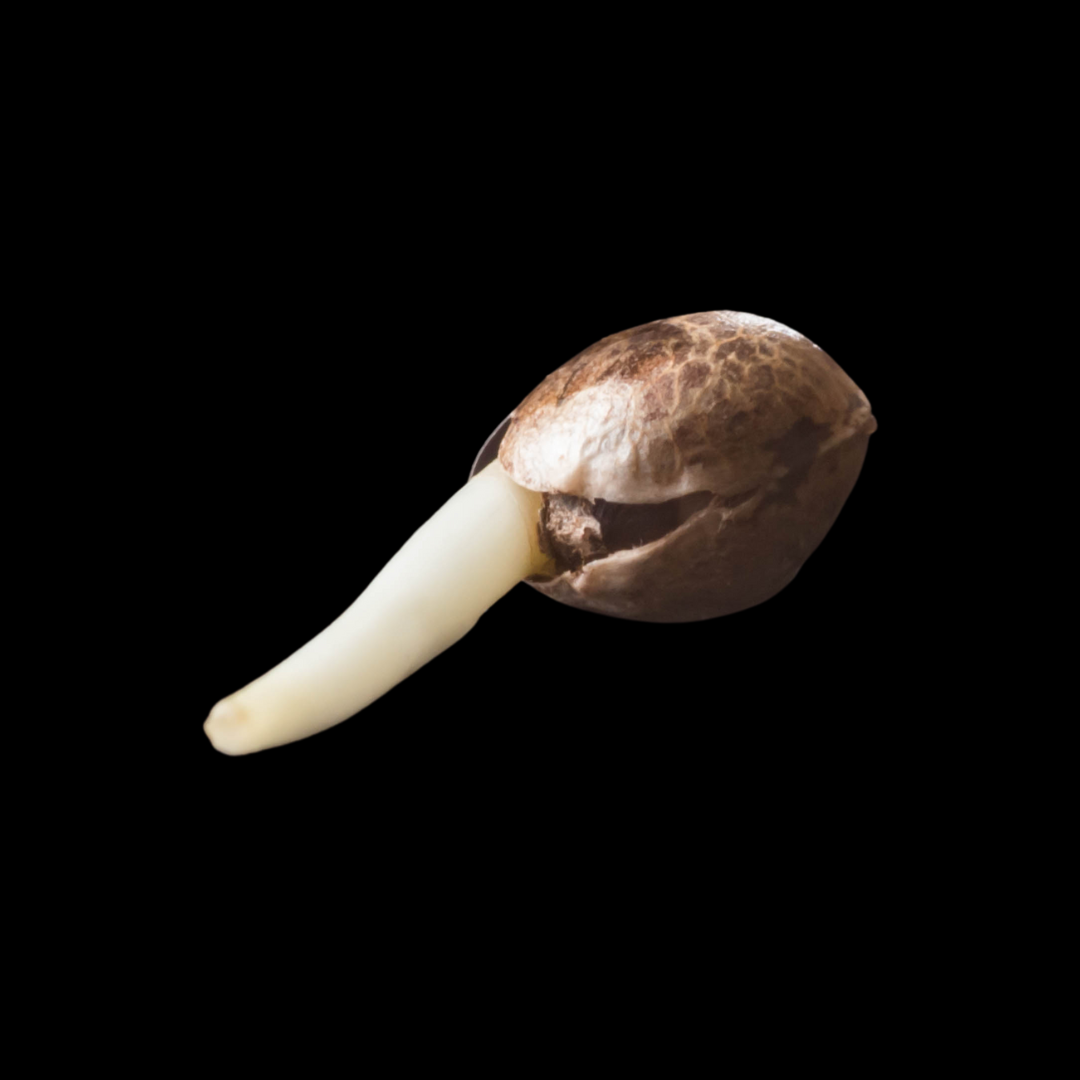
Cannabis cultivation is more than just a hobby; it's a passion, a science, and necessity for medical growers. It's a journey that takes you from seed to harvest, but the happiest time of each grow cycle happens in the final stages: harvesting, trimming, and curing. These final steps in a successful grow can significantly influence the potency, flavor, aroma, and overall quality of your cannabis. Let's explore each of these stages, so you can get the best possible results from your crop.

When to Harvest Cannabis Plants: Getting the Timing Right
Harvesting cannabis is a big moment. After weeks or even months of taking care of your plants, it's finally time to enjoy the fruits of your labor. But knowing when to harvest cannabis is crucial. It's not as simple as just cutting down the plants. You need to know the right time, have the right tools, and use the right techniques. Harvesting too early or too late can affect the quality of your buds. So, how do you know when it's the right time? This guide will help you understand the art of cannabis harvesting and ensure you're well-prepared.
Timing: The Key to Successful Cannabis Harvesting
The most crucial part of harvesting cannabis is getting the timing right. For those new to the world of cannabis cultivation, determining when to harvest cannabis plants can be a bit challenging. It's not uncommon for first-time growers to harvest their plants a bit too early, often driven by the excitement of reaching the end of the growing cycle. Another common mistake is relying solely on pistil dieback, where the white hairs on the buds turn red or brown, as the primary indicator for harvesting.
During late flowering, Future Harvest recommends Bud Boom, our late-stage flowering bloom-booster. Bud Boom is tailored for a late-stage flower development with ideal ratios of phosphorus and potassium. It is also formulated with known finishing and ripening agents, sulfur and magnesium, to give you those rock-hard dense buds you’ve been hoping for.
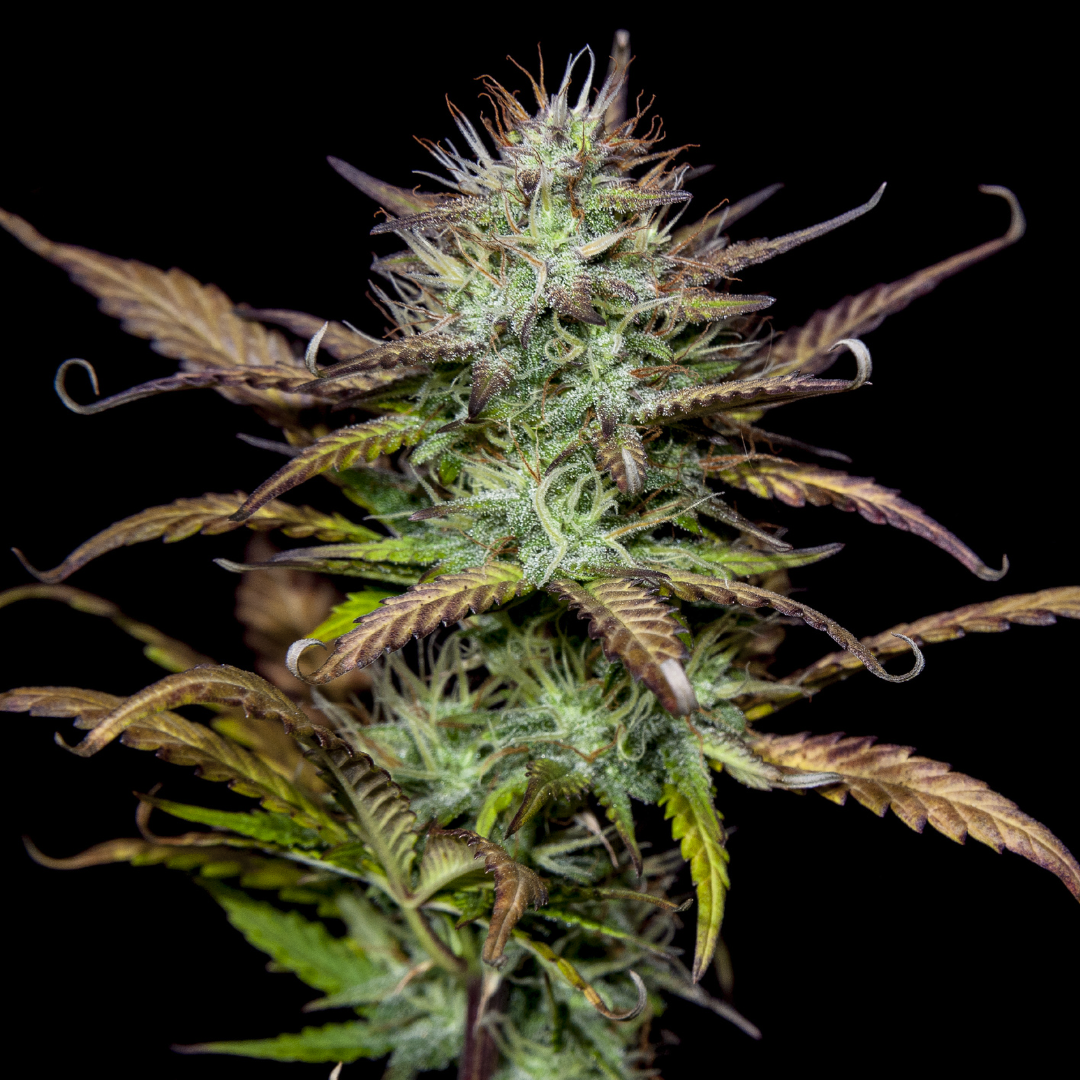
The ideal timing varies from strain to strain, and it often comes down to personal preference. A good rule of thumb is to look at the trichomes, those tiny, sticky, crystal-like structures on the buds.
Trichomes change color and opacity as they mature, and this transformation can be used as a guide with the use of 60x magnifier like a jeweler's loupe or a handheld microscope. 30x jeweler’s loupes are prevalent among cannabis grow supply stores but they are most handy for inspecting crops for pests. The level of magnification is just not quite enough to see trichomes clearly.
The goal of most growers is to harvest when trichomes are about 10% amber in color. However, the maturity of trichomes differs throughout the canopy. To get the best sense of your trichome maturity look at a few different buds throughout your canopy before harvesting.
Trichomes appear during flowering in 3 stages and have significant impact on potency:
- Clear Trichomes: When the trichomes are mostly clear, the plant is not yet ready for harvest. At this stage, the cannabis is generally less potent, and the effects may be more cerebral.
- Cloudy Trichomes: This is the sweet spot for many cultivators. When a significant portion of the trichomes turns cloudy, it signifies that the plant is at its peak potency. The effects are likely to be a balanced combination of body and head high.
- Amber Trichomes: If you see trichomes turning amber, it indicates that the plant trichomes are reaching full maturity. Some growers prefer around 30% amber trichomes before harvesting to get that blissful couchlock high.


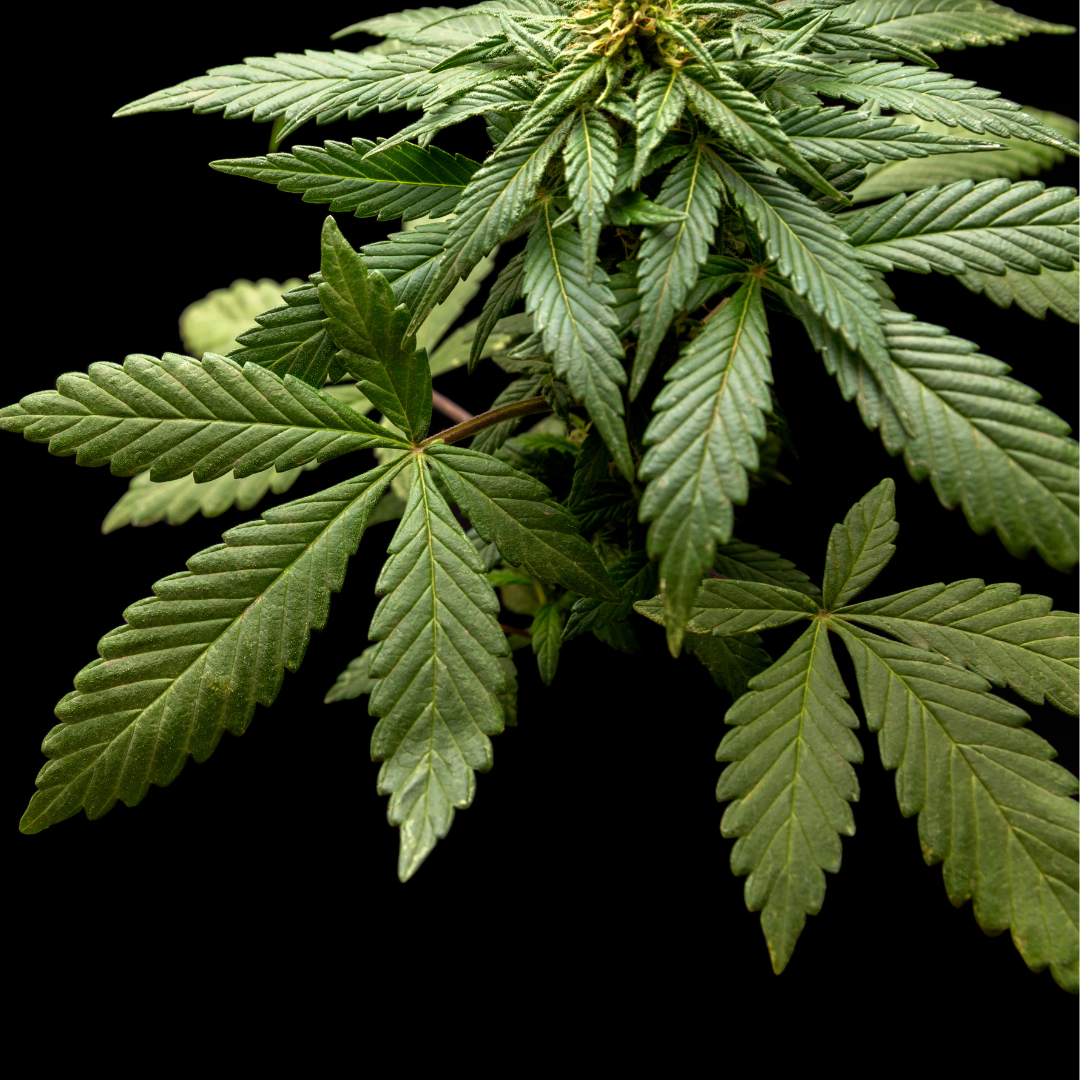
For new growers, if you think it is time to harvest, you should probably wait a week. You want to see significant yellowing or discoloration of the foliage, as the chlorophyll in the leaves remobilizes their nitrogen toward bulking up on flowering in the final stages. The practiced pros often use this time to significantly remove fan foliage to allow as much light penetration through their plants as possible.
Another technique the pros often use just prior to harvesting, is to give their plants about 48 hours of darkness prior to harvest. This technique is believed to enhance the flavor by altering the terpene profile.
Essential Tools for Precision in Cannabis Harvesting
When it comes to harvesting cannabis, having the right tools on hand is paramount. These tools not only ensure that the process goes smoothly but also play a significant role in determining the quality of the harvested buds. Here are the must-have tools for anyone looking to harvest marijuana with precision:
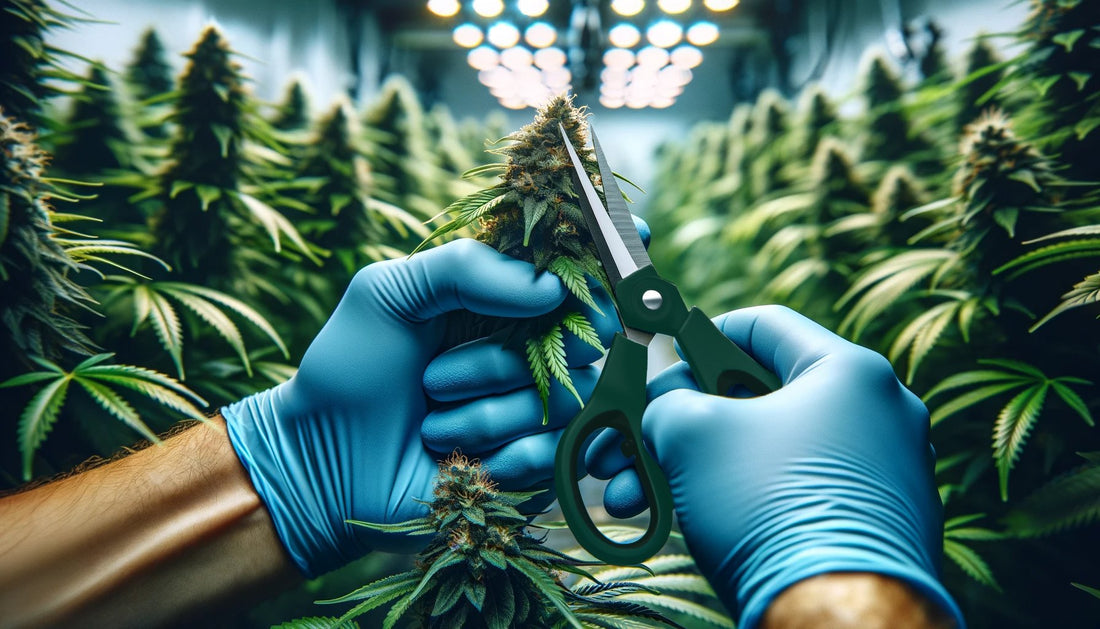
- Cannabis Trimming Scissors: Your primary tool for cutting. A sharp and clean blade is crucial to ensure that the plant isn't damaged during the harvesting process. For those serious about their cannabis harvesting, trusted brands like Chikamasa or Giros-botanica offer high-quality pruning shears and scissors. However, if you're working within a budget, Future Harvest's Vinny Trimmers are a great cost-friendly tool that can help you achieve the same goals.
- Nitrile Gloves: Wearing gloves is essential, especially when dealing with resin-coated buds. Gloves not only keep your hands clean but also prevent the transfer of oils from your skin to the plant, which can affect the taste and smell of the buds. It is best to use Nitrile gloves over latex, that are powder-free and medical grade.

Cannabis Trimming Preparations : Maximize Efficiency and Quality
Trimming cannabis is an essential step post-harvest. It's not just about aesthetics; it's about enhancing the quality, flavor, and potency of your buds. Here's a step-by-step guide on how to trim weed to perfection:
- Prepare Your Workspace: Set up a clean, dedicated workspace where you can trim and process the harvested buds. Ensure its well-ventilated and away from direct sunlight. Consider using a Trim-Bin with a filter to collect the potent kief that comes off frosty buds during harvest as you trim.
- Select Buds for Harvest: One can choose to harvest the top of the canopy first and allow the lower canopy’s buds to further mature a few days. The most popular option is to cut the plant at the base of the main stem to harvest the entire plant.
- Cutting Buds: Using your scissors or pruning shears, snip the mature buds from the plant, leaving some stem attached. The stem will make it easier to handle the buds during the trimming phase.
- Handle with Care: Be gentle and avoid squeezing or touching the buds excessively. Rough handling can damage the delicate trichomes and affect the quality of your harvest.
- Remove Excess Leaves: While the primary focus during harvesting is on the buds, it's a good practice to remove larger fan leaves and any other unnecessary foliage from the buds, although detailed trimming will come later.

Environmental Considerations for When to Trim Cannabis
The environment in which you harvest can also impact the quality of your buds. Here are some environmental considerations:
- Timing: It's best to harvest your cannabis during the dark phase of the light cycle, just before the lights would normally come on. This timing reduces the stress on the plant and allows for the preservation of valuable terpenes and cannabinoids, enhancing the overall quality of the harvest.
- Temperature and Humidity: Aim for a comfortable room temperature, typically around 70°F (21°C). Maintain a humidity level of around 45-55% in your harvesting environment to prevent mold and mildew growth. A humidity monitor can be a helpful tool to ensure the ideal conditions.

When, Why and How to Trim Weed
With your freshly harvested cannabis buds in hand, it's time to embark on the art of trimming. Trimming is a meticulous process that involves removing excess leaves, stems, and other unwanted plant material from the buds. While it certainly enhances the aesthetics of your buds, it also has a significant impact on the flavor, aroma, and overall quality of your final product. If you’ve been using Future Harvest’s bud boosters like Ton-O-Bud or Bud Boom during flowering, chances are you might want to enlist the help of a friend or two, as your yield is likely going to be a lot of work to hand trim solo.
Purpose: Why Trim Your Cannabis?
Trimming serves several crucial purposes:
- Aesthetics: One of the most obvious reasons for trimming is to improve the appearance of the buds. Removing excess leaves and stems reveals the beautiful, glistening trichome-covered buds underneath.
- Flavor and Aroma: Trimming also plays a vital role in enhancing the flavor and aroma of your cannabis. The excess plant material contains chlorophyll, which can give your buds a harsh, grassy taste if not properly trimmed.
Types of Trimming: Wet trim vs. Dry trim
There are two primary approaches to trimming your cannabis: wet trimming and dry trimming.
- Wet Trimming: This method involves trimming immediately after harvest, while the plant is still fresh and before the drying process begins. Wet trimming is relatively straightforward and allows for easy handling of the fresh plant material. This is because the foliage is still in the state it was in while growing and not stuck the buds of a plant that is dry-trimmed. That said, it can be a bit messier, as the excess moisture from the plant can make the process a bit more challenging.
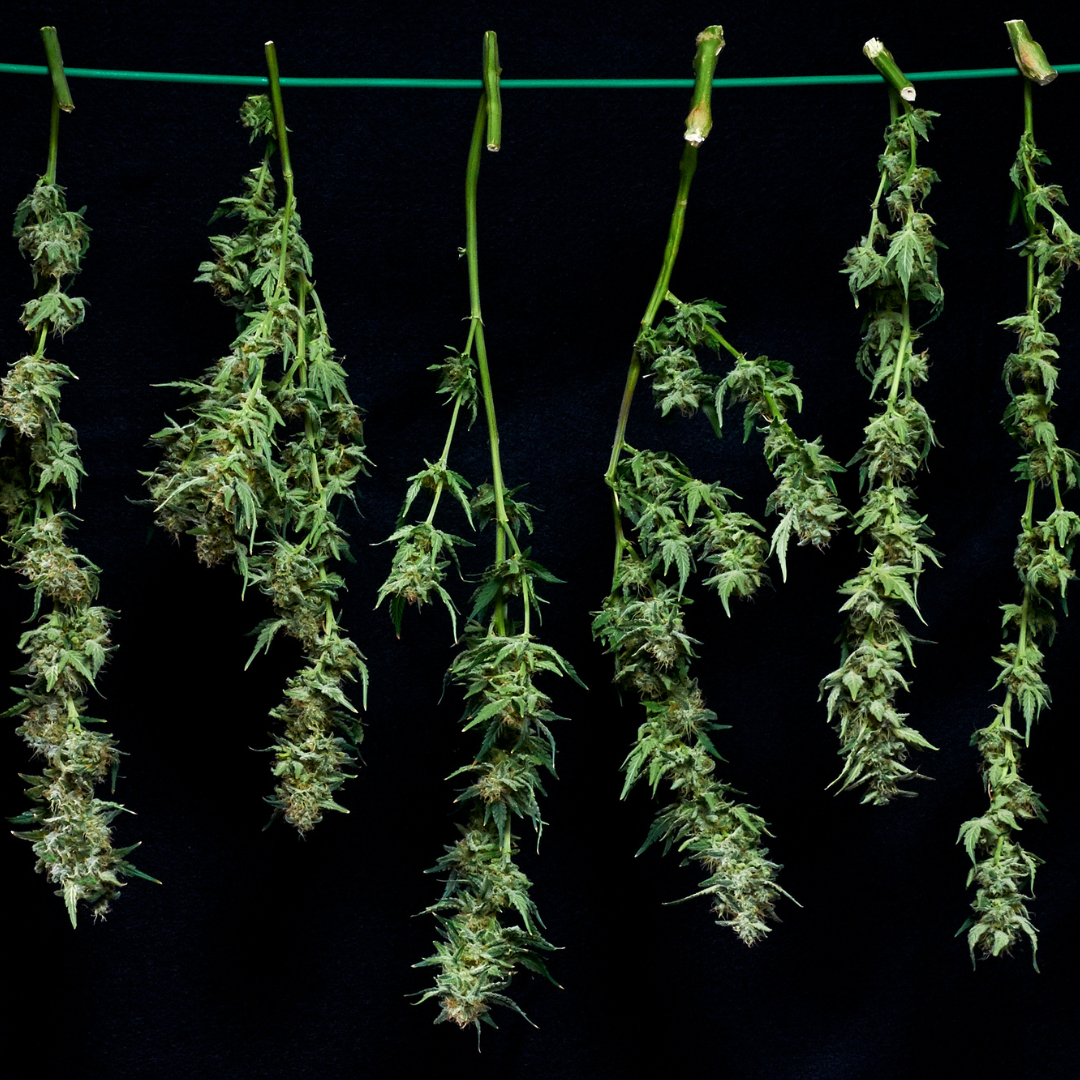
- Dry Trimming: Dry trimming, on the other hand, is performed after allowing the buds to dry for a few days. In this method, you trim the dried buds, and it's often preferred by experienced growers. Dry trimming is less messy, and many enthusiasts believe it preserves terpenes and cannabinoids better because they are less volatile when the plant is dry. Commercial facilities hang their entire plants by the main stock for this reason. They hang until the stems snap rather than bend. If the stems snap, it is a good indication that the moisture content has reduced enough to facilitate a dry trim.
Tools: The Craftsmen's Instruments
To embark on your trimming journey, gather the following tools:
- Trimming Scissors or Shears: These are your primary instruments. Sharp and precise scissors are vital to ensure clean cuts and avoid damaging the buds.
- Gloves: Wearing gloves is advisable, especially during wet trimming. This not only keeps your hands clean but also helps prevent resin and trichomes from sticking to your skin.
- Clean Work Surface: Create a dedicated workspace that is easy to clean and sanitize. A clean environment is essential to maintain the quality of your buds.
- Isopropyl Alcohol: 99% Isopropyl alcohol should be used throughout your harvest process as it is a very effective way to keep your shears and scissors clean while trimming. Too much scissor hash can gum up your tools and make them seem dull and imprecise.

The Art of Trimming: Technique and Precision
Trimming is an art that requires patience and precision. Here's how to approach it:
- Organize Your Workspace: Set up a clean, well-ventilated workspace for trimming. Ensure your tools are easily accessible.
- Prepare the Buds: Take each harvested bud and carefully inspect it. Remove any remaining fan leaves and any unwanted stems. Pay attention to detail, as it's these fine touches that make a difference in the final quality.
- Maintain a Light Touch: Be gentle when handling the buds. Avoid excessive squeezing or pressing, as this can damage the delicate trichomes. Remember, you're crafting a product that's as much a work of art as it is a source of enjoyment.
- Trim Closely but Carefully: Trim as closely to the buds as possible to remove all excess plant material, like sugar leaves. However, ensure you don't cut into the buds themselves. It's a delicate balancing act. Keep in mind that all of us have the occasional slip of the scissors into a bud or two, don’t stress it just be mindful.
- Collect Trimmings: Don't discard the trimmings, as they can be used to make concentrates, edibles, or tinctures. They still contain valuable cannabinoids and terpenes.
- Stay Organized: Keep track of the different strains and batches you're trimming and label your containers accordingly to maintain product integrity.
Environmental Conditions: Trimming Workspace
Your trimming environment is crucial for maintaining the quality of your cannabis. Here are some environmental factors to consider:
- Lighting: Adequate lighting is essential to ensure you can see the buds clearly and trim with precision. A combination of natural light and artificial, full spectrum grow lights can be beneficial in this regard.
- Ventilation: A well-ventilated workspace helps to dissipate any strong odors and prevent the accumulation of moisture, which can lead to mold or mildew.
-
Cleanliness: Maintain a clean and sanitary workspace. Regularly clean your tools and workspace to prevent contamination and maintain the quality of your cannabis. Again, isopropyl 99% is the way to go because it cuts right through the gummy resin on your tools and evaporates quickly.

Cannabis Curing: The Final Touch to Perfection
Curing is the grand finale of your cannabis cultivation journey. It's where you'll put your meticulously grown and carefully trimmed buds into glass jars and let time work its magic. Curing is a process of slow drying and storage under controlled conditions, and it's here that the full potential of your cannabis is unlocked.
Why Cure Weed? Understanding the Importance
The process of curing plays several pivotal roles:
- Flavor and Aroma Enhancement: Curing allows for the breakdown of chlorophyll and the development of the terpenes, which are responsible for the distinctive flavors and aromas of different strains. Proper curing results in a smoother, more enjoyable smoking experience.
- Moisture Regulation: Curing gradually reduces the moisture content of your buds, preventing mold and bacterial growth. It ensures that your cannabis remains safe to consume for an extended period.
How to Cure Weed: A Step-by-Step Guide
The process of curing your cannabis is a testament to patience and meticulous care. Here's how it's done:
- Preparing the Buds: After trimming, gather your buds and place them in glass jars. Fill each jar only about two-thirds full to allow for proper air circulation. Don't overcrowd the jars, as this can impede the curing process.
- Monitoring Humidity: During the initial phase of curing, you'll need to monitor the humidity inside the jars. Invest in a hygrometer, a device that measures humidity, to ensure the ideal conditions.
- Daily "Burping": In the first couple of weeks, open the jars daily for a few minutes. This "burping" process releases excess moisture and allows fresh air to enter the jars. It helps prevent mold and ensures an even curing process.
- Long-Term Storage: Curing typically takes a minimum of two weeks, but many experienced cultivators extend the process for several months for the best results. Some dedicated enthusiasts even age their cannabis for a year or more, much like aging fine wine. For long term storage, one can eliminate odors that regular Ziploc bags can’t, with BC Bags. BC Bags are specially designed for cannabis dry storage and are completely odor free once sealed.
- Temperature and Humidity: Store your curing jars in a cool, dark place with a stable temperature and humidity level. The ideal conditions are around 60-65% relative humidity and 60-70°F (15-21°C). Avoid exposure to direct light or extreme temperature fluctuations.
Quality Control in Cannabis Curing: Inspecting, Drying, and Sampling
Throughout the curing process, it's essential to inspect your cannabis regularly. Check for any signs of mold or mildew and ensure that the buds are drying and curing uniformly. Additionally, this is the time to sample your product to gauge the changes in flavor and aroma.
If you are more of a visual learner, turn to YouTube for cannabis harvesting, drying, and curing with this comprehensive 13-minute guide by From Seed to Stoned. Whether you're a novice grower or a seasoned cultivator, this step-by-step video is packed with invaluable insights that will elevate your cannabis game.
The Journey of Cannabis Cultivation: From Seed to Perfectly Cured Weed
Cultivating cannabis is a multifaceted journey that starts with selecting the right strains and caring for the plants through various growth stages. But the art of cannabis truly unfolds in the final stages of harvesting, trimming, and curing. These steps are where the magic happens, where your carefully cultivated plants are transformed into a product that is not only potent but also rich in flavor, aroma, and overall quality.
In the end, cannabis cultivation is an expression of patience, precision, and passion. It's an art form that combines science, horticulture, and the mastery of timing and technique. When you embark on this journey, remember that the best results come from the dedication to these final stages. Once your hard work is done, light one up for us if you’ve found this article.
Navigate through our Seed to Harvest series to explore each stage of cannabis cultivation: